Designing a Functional Laundry Room: Dimensions & Clearances
Will those new front-loaders actually fit? Here are the critical measurements for washer/dryer clearance, counter depths, and utility sinks.
Don't Forget the Vent Hose
The most common panic moment in a home renovation involves the laundry machines. You measure the closet, you measure the washing machine, and you think, "It fits!"
Then the delivery crew arrives, and you realize you forgot to account for the 5-inch dryer vent protruding from the back wall. Now the door won't close.
Laundry rooms are appliance-heavy spaces where inches matter. Whether you are building a dedicated mudroom or squeezing a stackable unit into a hallway closet, here are the numbers you need to know.
1. Standard Appliance Sizes
While "compact" European models exist, most American homes use full-size units.
- Standard Width: 27 inches is the industry standard for both washers and dryers.
- Standard Height: 38 to 39 inches (for side-by-side units).
- Standard Depth: 30 to 34 inches. Note: This is just the machine itself.
The "Real" Depth (The Trap)
You cannot push a machine flush against the wall.
- Rear Clearance: You need 4 to 6 inches of space behind the machines for water hookups and the rigid dryer vent hose.
- Front Clearance: Most front-load doors bubble out another 2 to 3 inches.
- Total Depth Needed: If your machine is 32 inches deep, you actually need a space that is 38 to 41 inches deep.
2. Walkway & Door Clearance
Loading laundry is a physical activity. You are bending, lifting, and swinging doors open.
In Front of Machines
- Minimum Clearance: 42 to 48 inches.
- Why: A standard washer door swings out about 24 inches. You need room to stand behind the open door to unload wet clothes into a basket. If you only have 36 inches, you will feel trapped between the open door and the wall behind you.
Door Swing Conflict
If your laundry is in a closet or narrow room, ensure the entry door doesn't hit the washer door.
- Pro Tip: If space is tight, switch your entry door to swing out into the hallway, or use a sliding barn door.
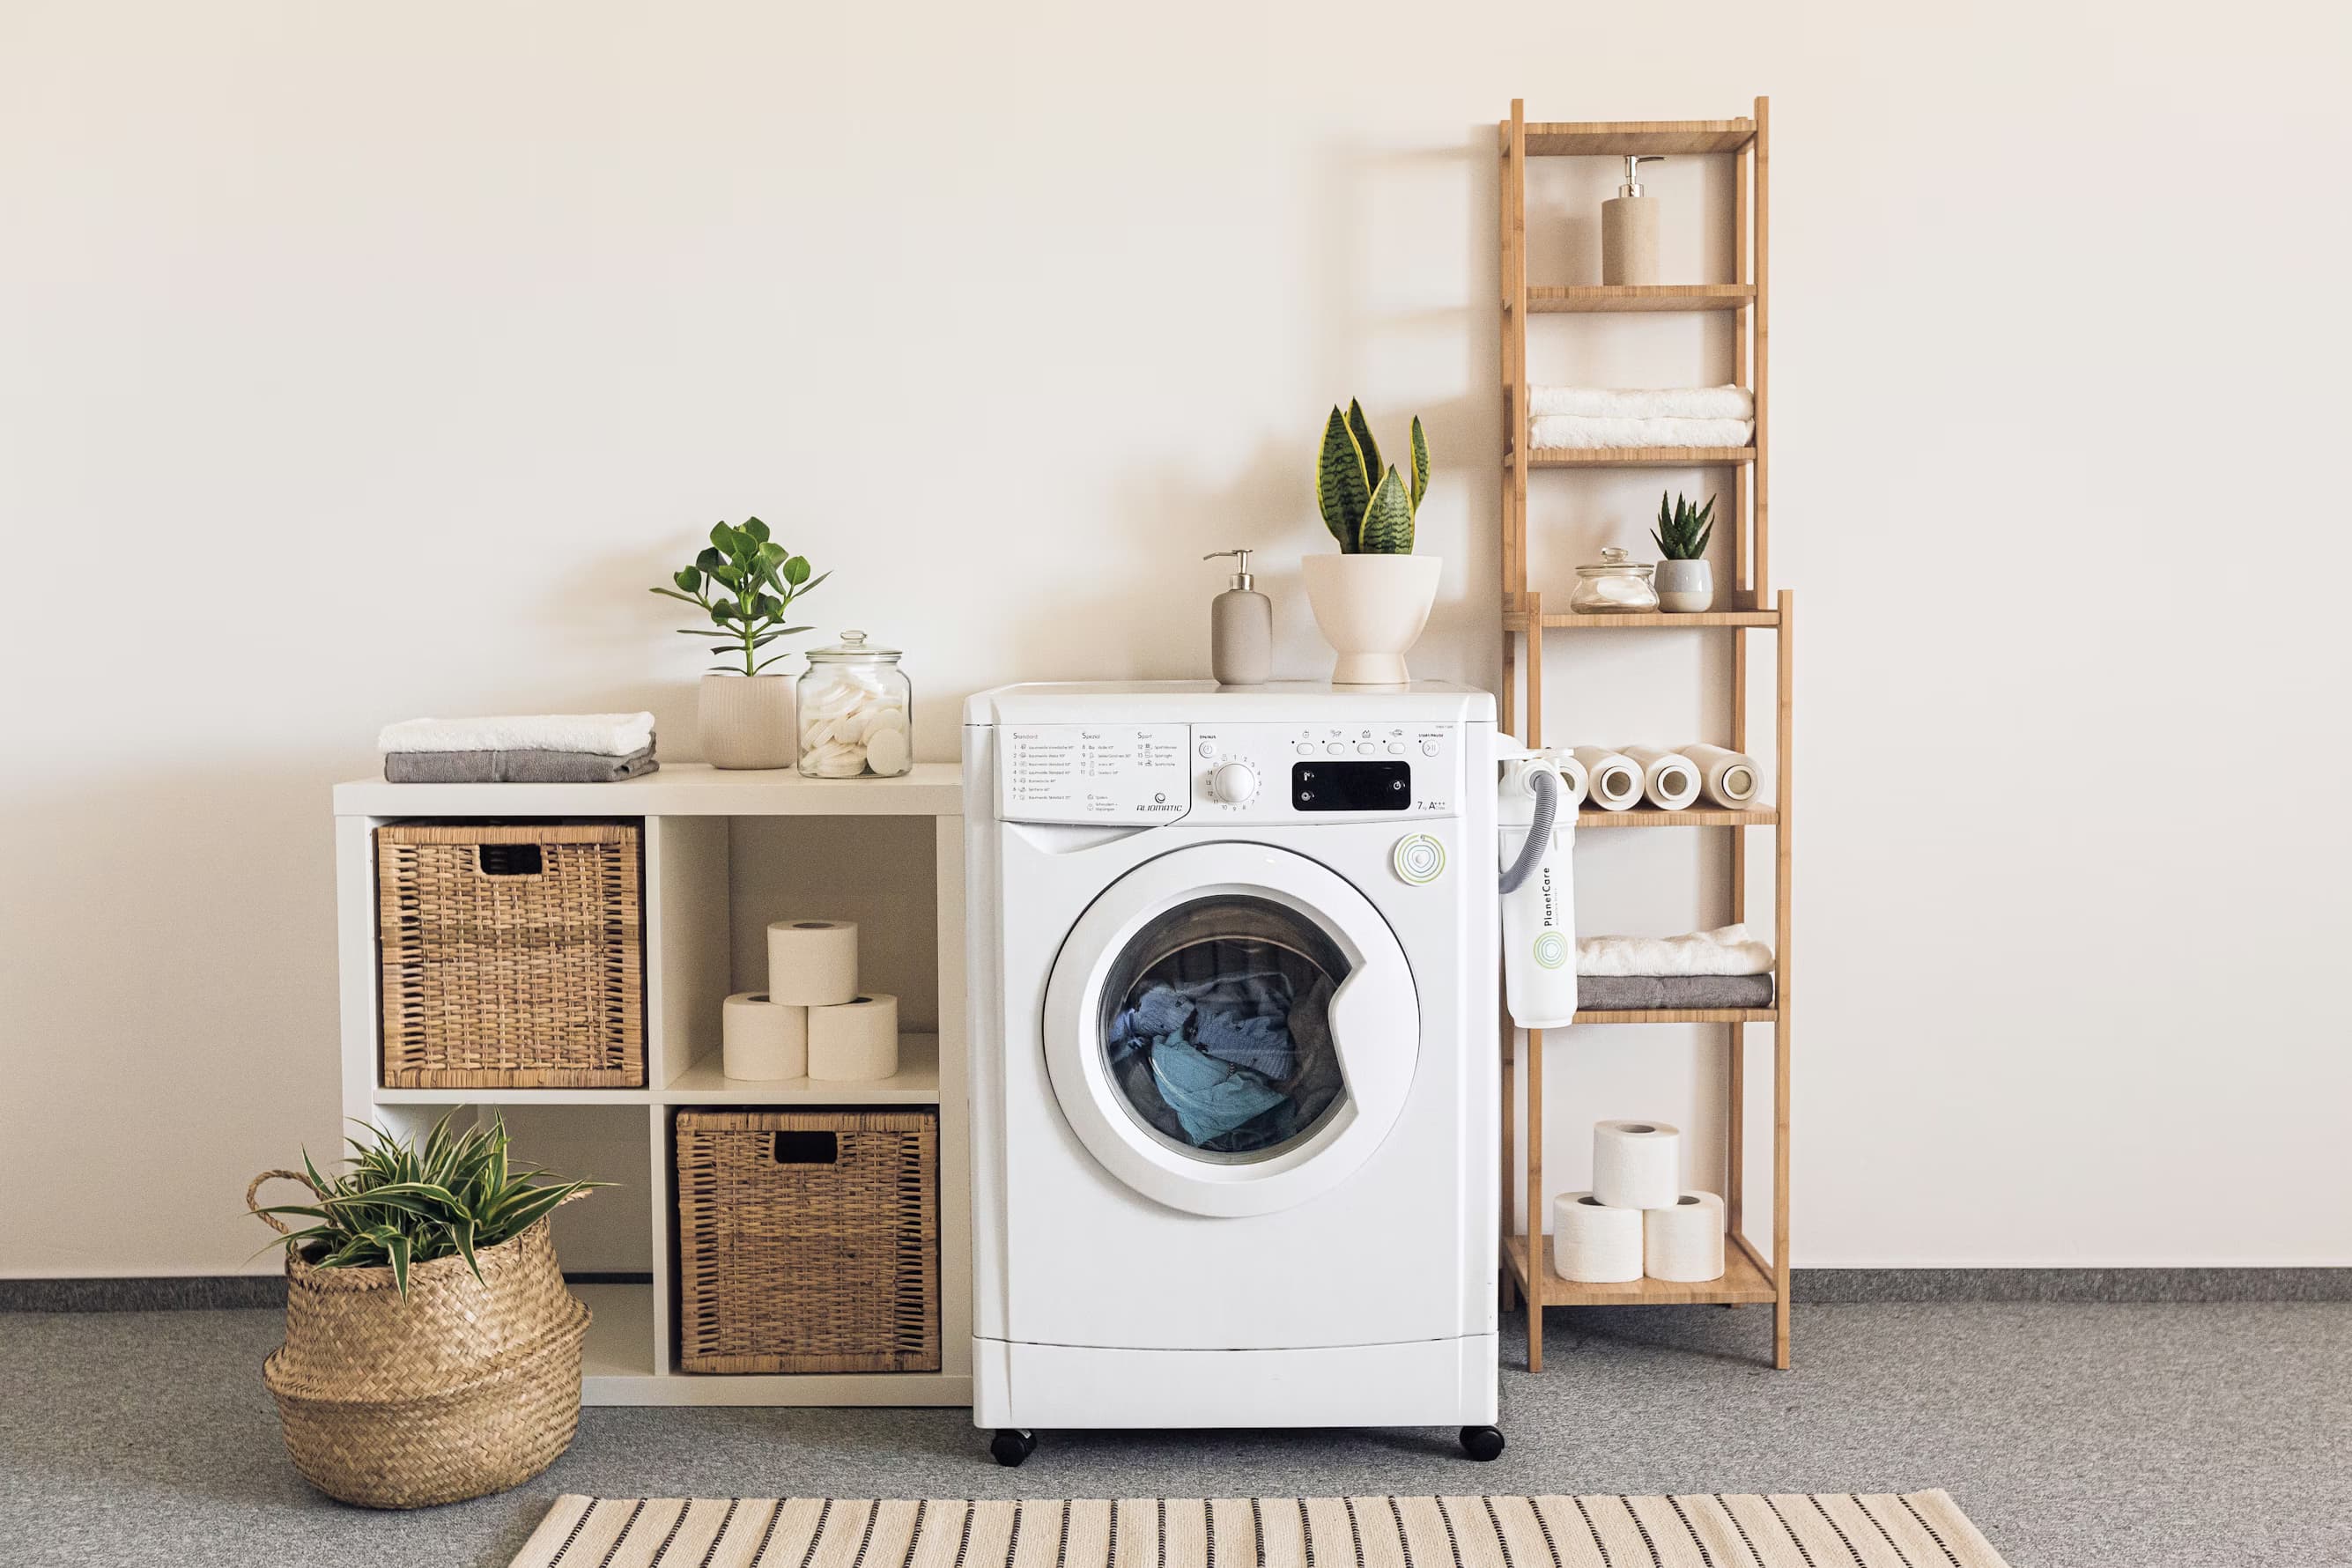
3. Side-by-Side vs. Stacked
Deciding how to arrange your machines dictates the cabinetry.
Side-by-Side (The Counter King)
This is the best setup for families because it allows for a folding table on top.
- Width Needed: 60 inches minimum (27" washer + 27" dryer + 6" buffer).
- Counter Height: If you put a counter over the machines, it will sit at roughly 40-42 inches high. This is higher than a standard kitchen counter (36"), so it's great for folding while standing but too high for sitting.
Stacked (The Space Saver)
Great for closets, but be careful with height.
- Total Height: A stacked pair is roughly 78 to 80 inches tall.
- The Control Panel Issue: Before you buy, check where the dryer controls are. If you are shorter than 5'5", reaching the dial on top of a stacked dryer can be a struggle.
- Weight: A full washer filled with water and clothes can weigh 200+ lbs. Ensure your floor is reinforced if placing this on a second story.
4. The Utility Sink
A "slop sink" is incredibly useful for soaking stains or washing muddy boots.
- Standard Width: 24 inches.
- Clearance: Treat it like a kitchen sink. You need 30 inches of standing room in front of it.
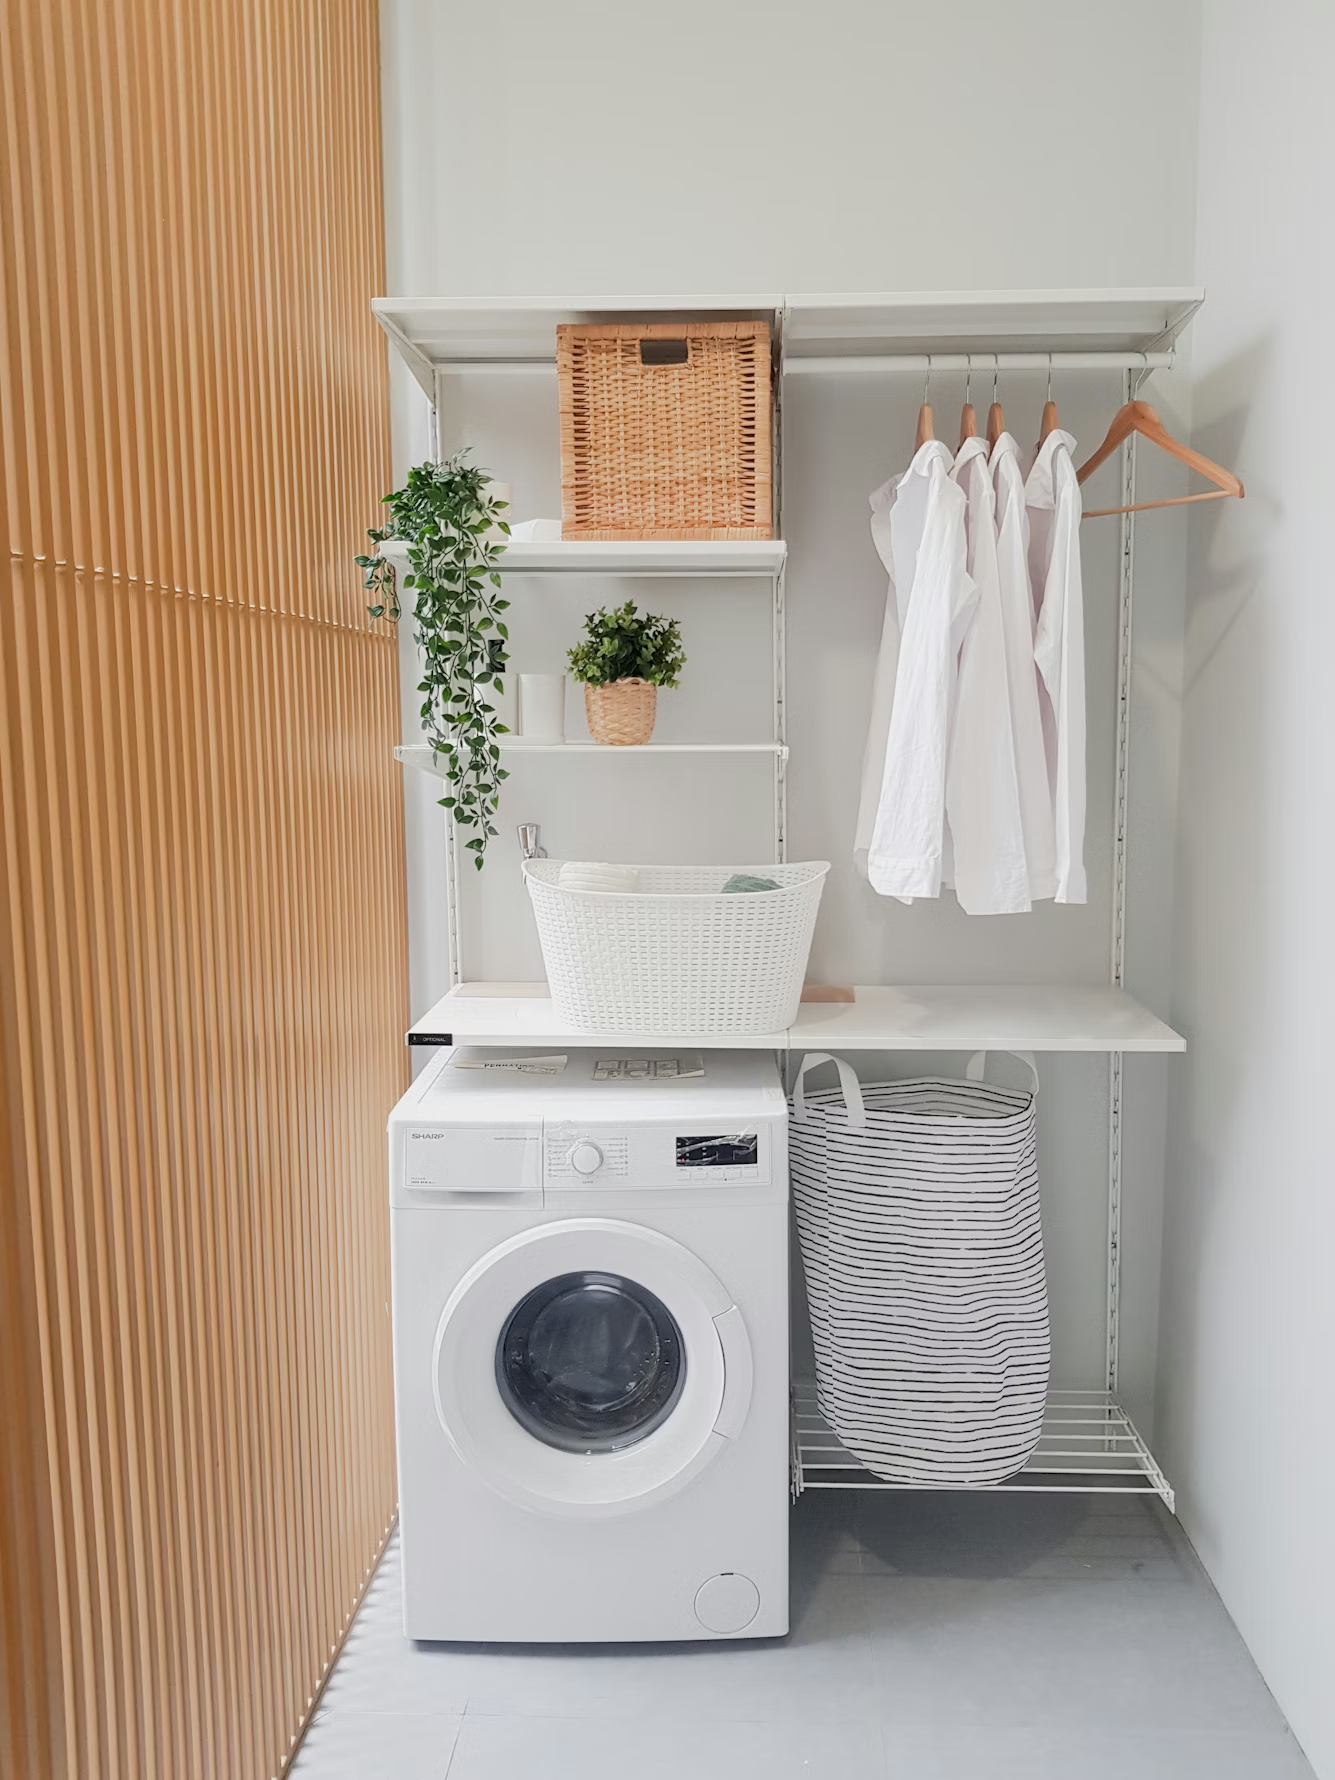
5. Storage & Shelving
Don't leave the wall space above the machines empty.
- Shelf Depth: Use shelves that are 12 to 14 inches deep. Do not use 24-inch deep shelves above machines; you will hit your head on them while leaning in to grab socks.
- Clearance Above Counter: If you install cabinets above a folding counter, leave 18 inches of space between the counter and the bottom of the cabinet (just like a kitchen).
Noise & Vibration (Location Matters)
If you are moving laundry to the second floor (near bedrooms):
- Vibration: Place a rubber anti-vibration mat under the machines.
- Walls: Use "Safe 'n' Sound" insulation in the walls to dampen the noise of the spin cycle.
- Flooding: Always install a drain pan under a second-floor washing machine. It costs $20 and saves $20,000 in water damage.
Dry Run Your Laundry Layout
Don't wait until the plumber arrives to find out the sink doesn't fit.
- Open RoomyLab.
- Draw your room dimensions.
- Search for "Washer" and "Dryer" in the furniture library.
- Crucial Step: Add a 6-inch "block" behind them to represent the vent hose.
- Does the room door still close?
Planning the boring stuff now means a smoother wash day later.
Inspired? Start planning now.
Use our free browser-based tool to visualize this advice in your own home. No account needed.
Launch RoomyLab Editor