Designing the Perfect Nursery: Layouts for Safety & Sleep
It is not just about the cute wallpaper. Learn the strict safety rules for crib placement and how to arrange a room for 3 AM diaper changes.
Function First, Decor Second
Designing a nursery is often the first project expecting parents tackle. It is easy to get lost in themes—safari, floral, or space—and forget that this room is a functional workspace.
You will be operating in this room in the dark, while sleep-deprived, holding a crying infant. The layout needs to be flawless to prevent stubbed toes and accidents.
Here are the safety standards and layout triangles you need to know before the baby arrives.
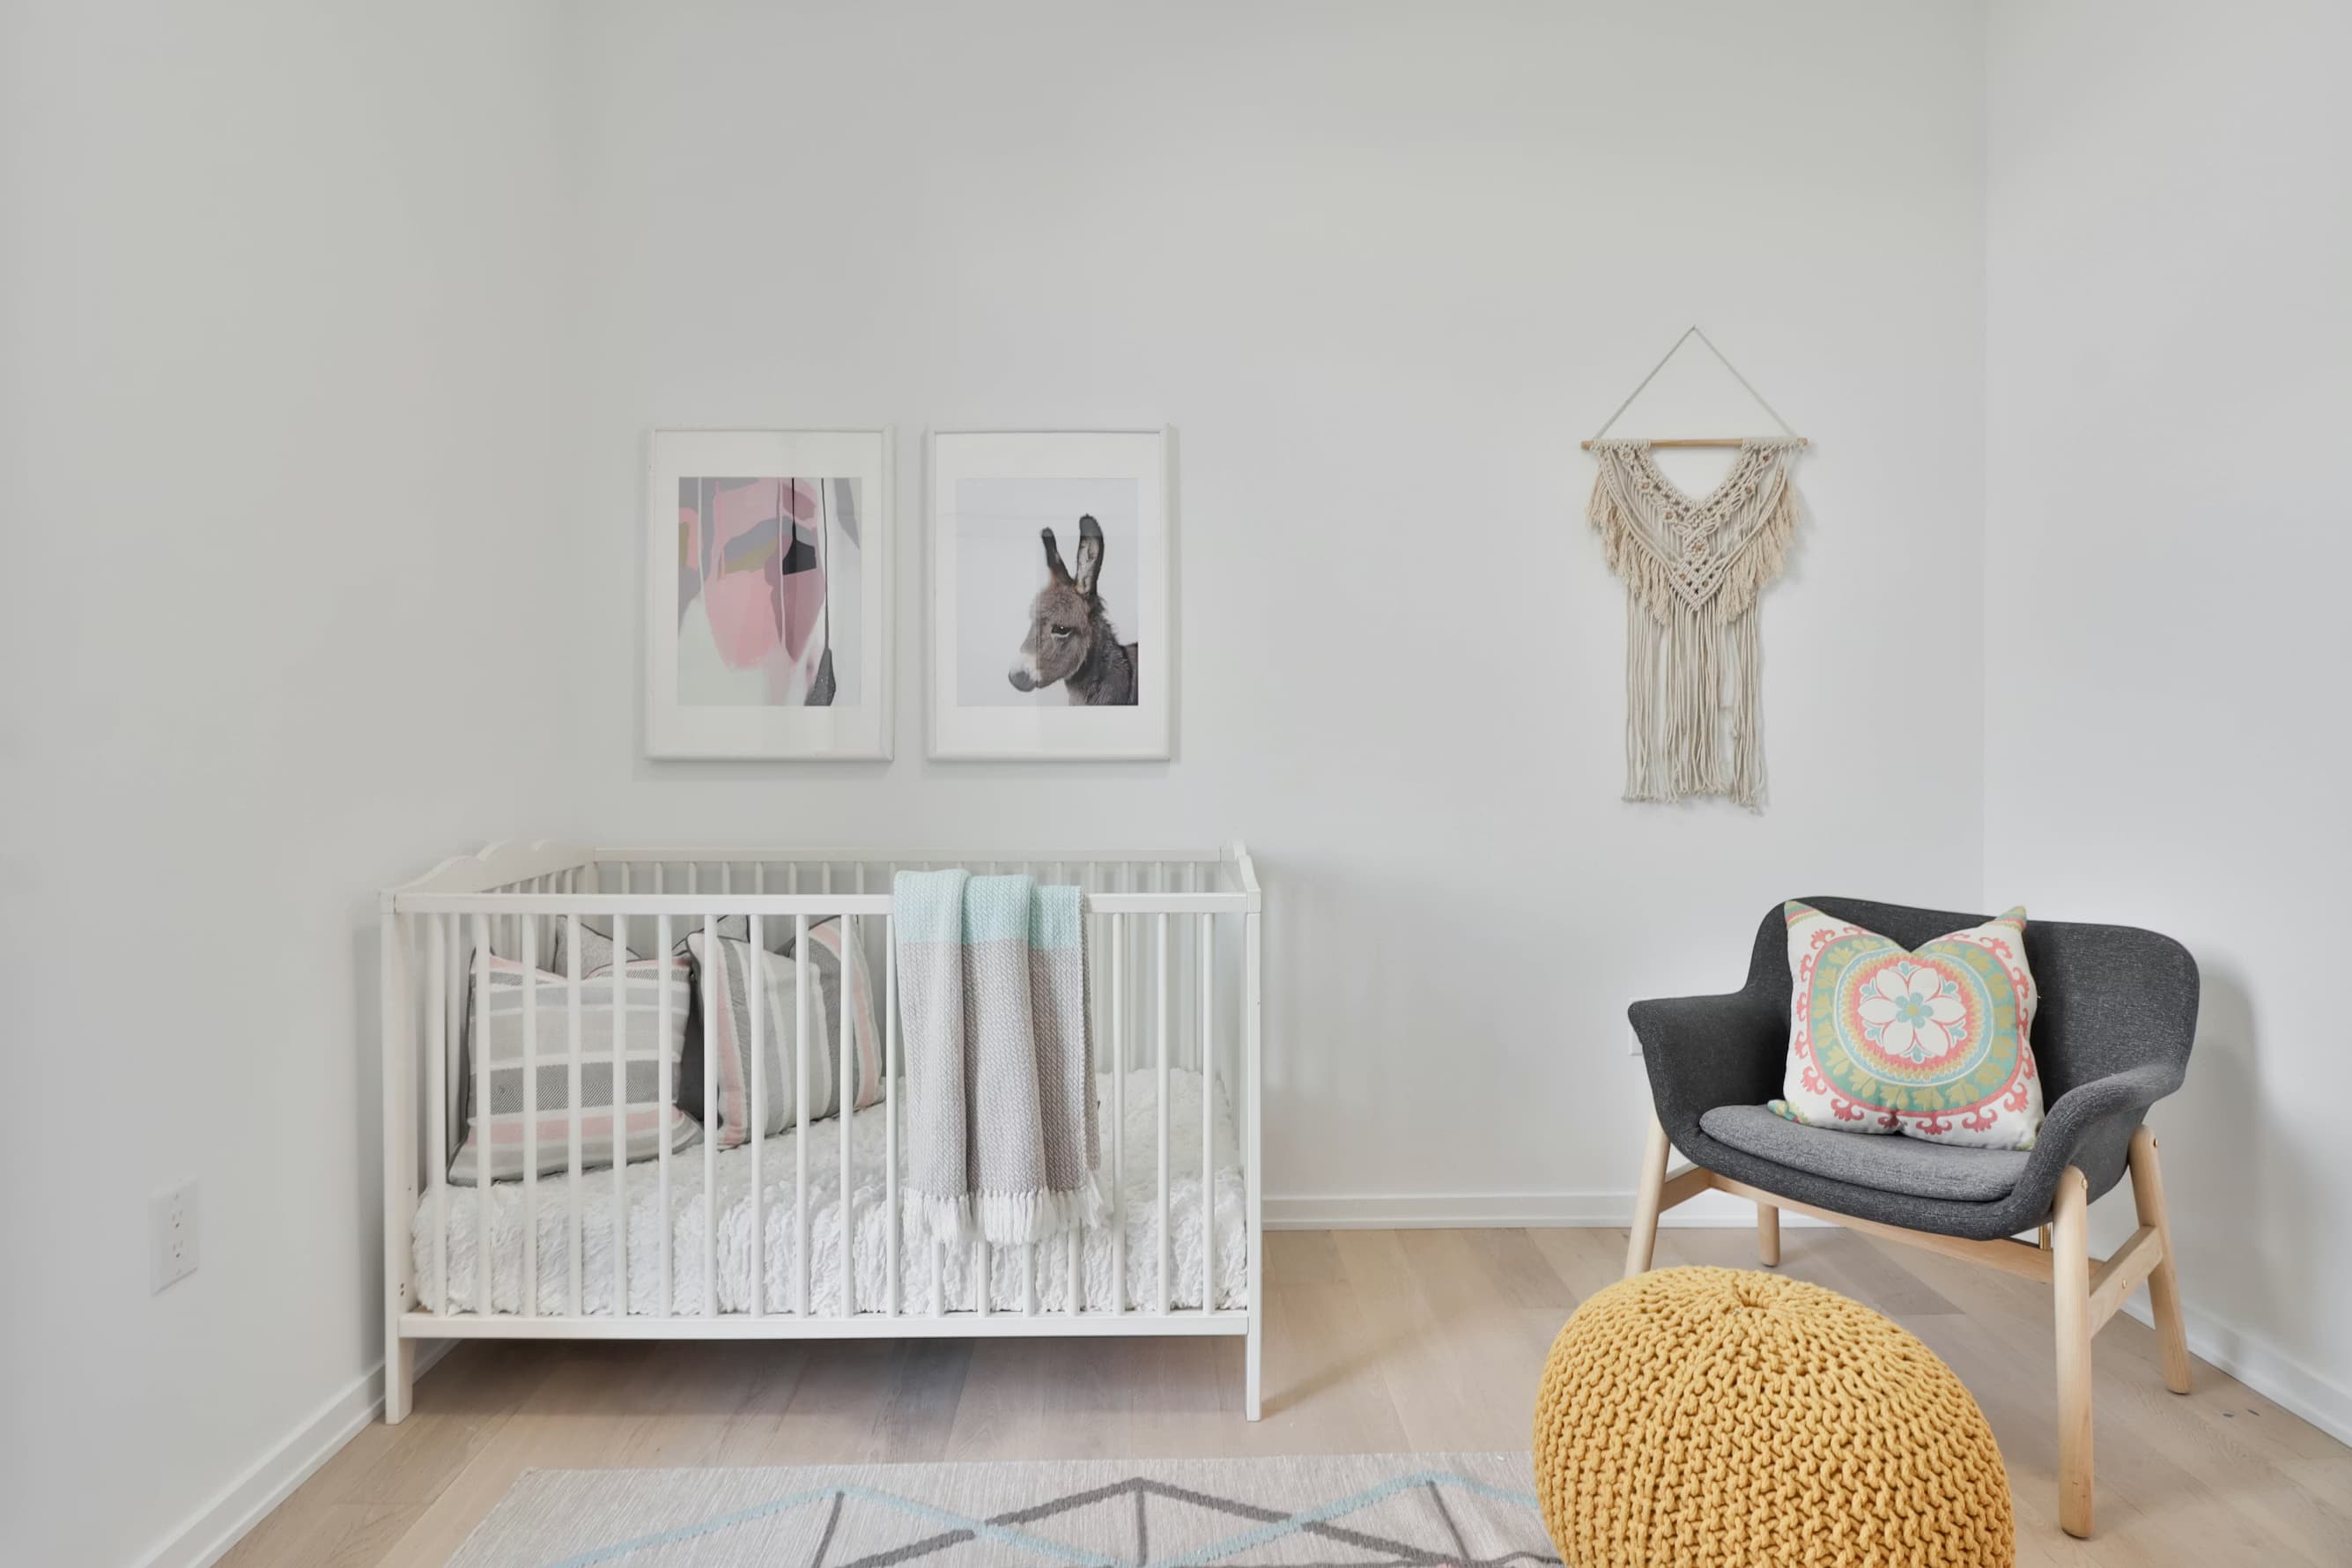
1. The Crib: Location is Critical
The crib is the most important piece of furniture, and it has the strictest placement rules for safety.
The "No-Fly" Zones
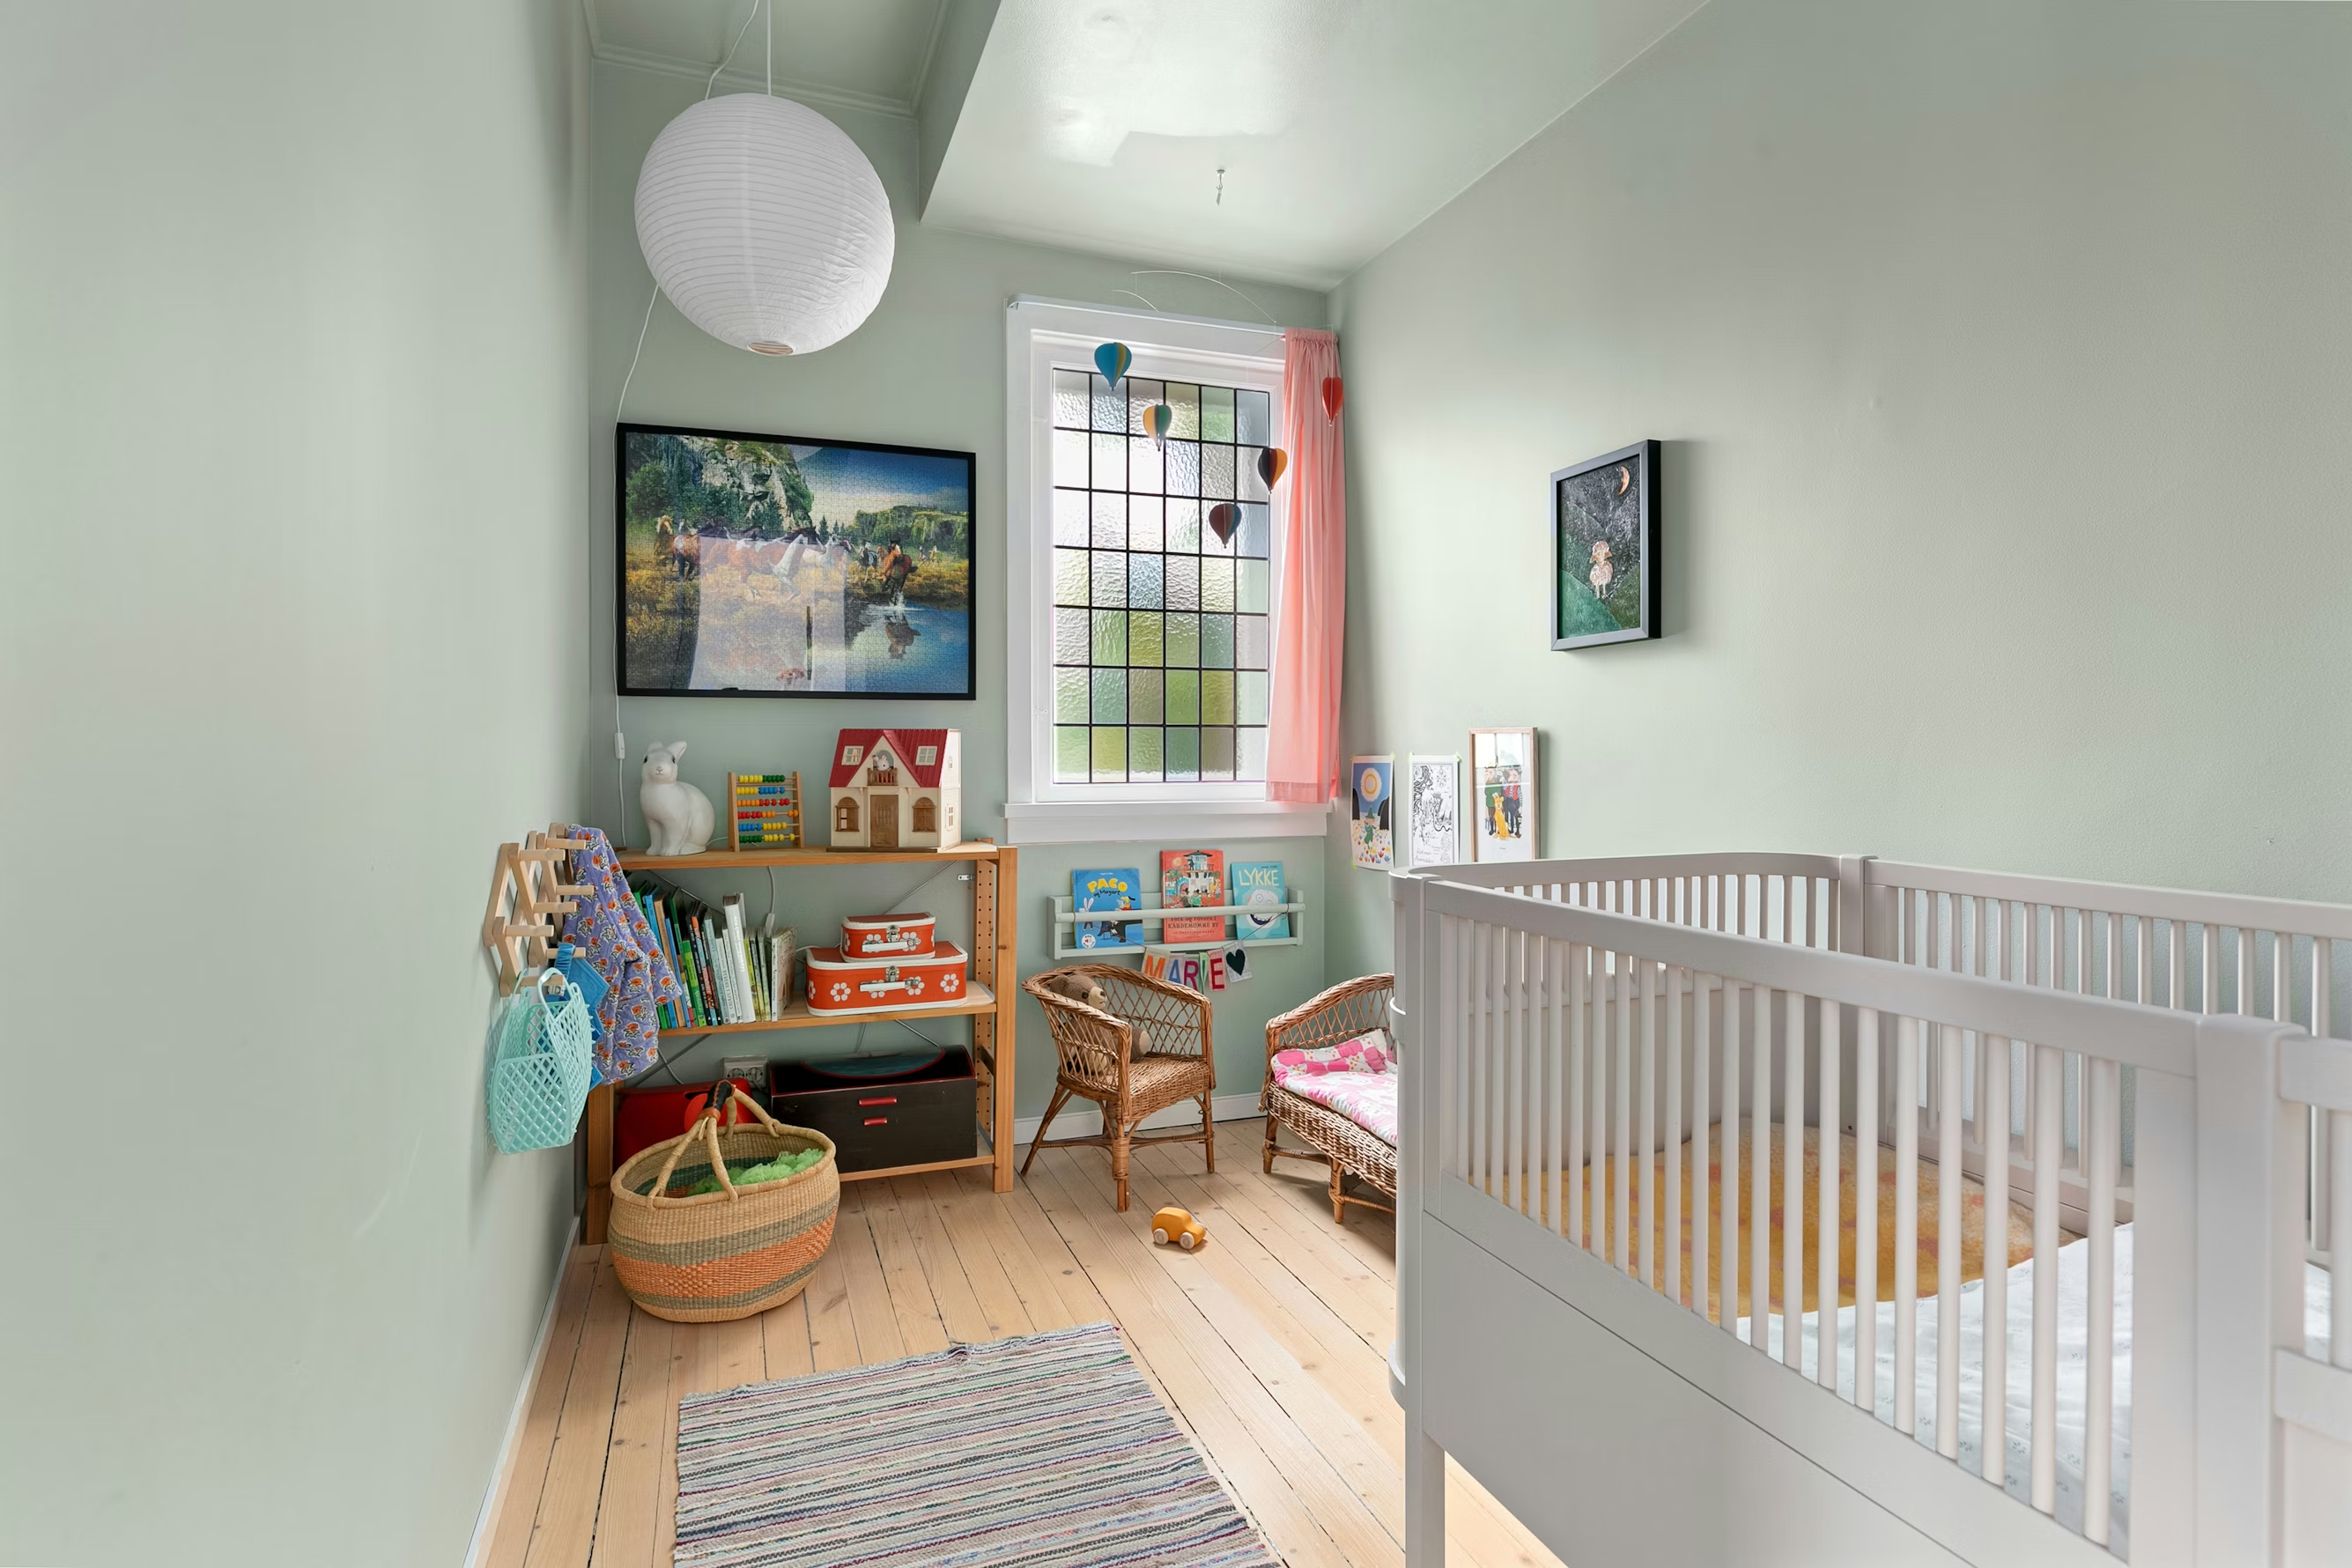
- Windows: Never place a crib directly under or adjacent to a window. Drafts can disrupt sleep, and worse, blind cords or curtains pose a strangulation risk.
- Radiators/Vents: Keep the crib away from direct heat sources to prevent overheating.
- Wall Hangings: Do not hang heavy art, shelves, or mirrors directly above the crib. If they fall during a tremor or accident, they fall on the baby.
Standard Dimensions
- Standard Crib: 52" x 28".
- Mini Crib: 38" x 24" (Great for small apartments or sharing the master bedroom).
2. The Nursing Corner
You will spend hundreds of hours in this chair.
The Clearance Check
Most parents buy a glider or rocking chair.
- The Mistake: Placing it flush against the wall.
- The Fix: You need roughly 12 to 18 inches of clearance behind a glider to allow for the backward rocking motion. If you don't plan for this, you will be banging into the drywall every time you rock the baby.
- Side Table: You need a small surface (12-15 inches wide) within arm's reach for a bottle, water, or phone.
3. The Changing Station Flow
Efficiency is key here. You want to keep one hand on the baby at all times.
The "Dirty" Triangle
Just like a kitchen work triangle, you need a workflow:
- The Table: Standard height is 36 inches (counter height) to save your back.
- The Diapers: Must be reachable without stepping away from the table. Use the top drawer or a wall shelf.
- The Hamper: Place it immediately next to the table. Do not walk across the room with a dirty diaper.
4. Lighting: The "3 AM" Rule
Lighting layout is more important here than in any other room.
- Avoid: A single bright overhead light. Turning this on at 3 AM signals to the baby that it is "playtime" and ruins their sleep cycle.
- Use: A dimmer switch on the main light, and a dedicated low-wattage lamp or nightlight near the changing table. You want just enough light to see what you are doing, but not enough to fully wake the baby.
5. Future-Proofing the Layout
Babies grow fast. A good layout works for a newborn and a toddler.
- Floor Space: Keep the center of the room open. By month 6, the baby needs a "Tummy Time" rug (approx 4x6 feet). By year 2, that space becomes a block-building zone.
- Convertible Furniture: Many cribs convert to toddler beds.
- Layout Tip: When the front rail comes off the crib, does the bed still fit? Ensure the child can roll out of bed without hitting the dresser.
6. Safety Anchors
This is non-negotiable.
- Tip-Over Risk: As soon as a baby can crawl, they will try to climb the dresser.
- The Rule: ALL furniture (dressers, bookshelves, wardrobes) must be anchored to the studs in the wall. Account for the 1-inch gap this creates behind furniture when measuring your room.
Test the "Dark Room" Walk
Before you finalize your plan:
- Open RoomyLab.
- Place your Crib, Chair, and Changing Table.
- Trace the path: Draw a line from the door $\rightarrow$ crib $\rightarrow$ changing table $\rightarrow$ chair.
- Obstacle Check: Is there a rug corner to trip on? Is the ottoman blocking the path?
Visualize the path now so you don't trip over it later.
Inspired? Start planning now.
Use our free browser-based tool to visualize this advice in your own home. No account needed.
Launch RoomyLab Editor