Floors First or Paint First? The Correct Order of Renovation
Doing things in the wrong order leads to damaged floors and repainted walls. Follow this roadmap to save time and money.

The Renovation Roadmap
The most common question we get from first-time renovators is: "Do I install the floors before I paint the walls?"
The answer is: It depends.
Renovating a room isn't just about picking pretty materials; it's about logistics. If you do things in the wrong order, you risk dripping paint on your brand new hardwood or scratching your new cabinets while installing tile.
Here is the standard "Order of Operations" used by general contractors to minimize damage and waste.
Phase 1: Demolition & Rough-In
Before anything pretty goes in, the ugly stuff must come out.
- Demo: Remove old cabinets, flooring, and trim.
- Rough-In: Run new electrical wires and plumbing pipes while the walls are open.
- Drywall: Patch holes, hang new sheetrock, tape, and mud.
Phase 2: The "Paint vs. Floor" Debate
This is where people get stuck.
Scenario A: You are refinishing HARDWOOD floors
Order: Paint Walls $\rightarrow$ Refinish Floors $\rightarrow$ Install Baseboards.
- Why: Floor sanders kick up a massive amount of dust that sticks to wet paint. However, floor stain can splash onto baseboards. Pros usually prime and paint the walls first, do the floors, and then do the final touch-up coat on the walls last.
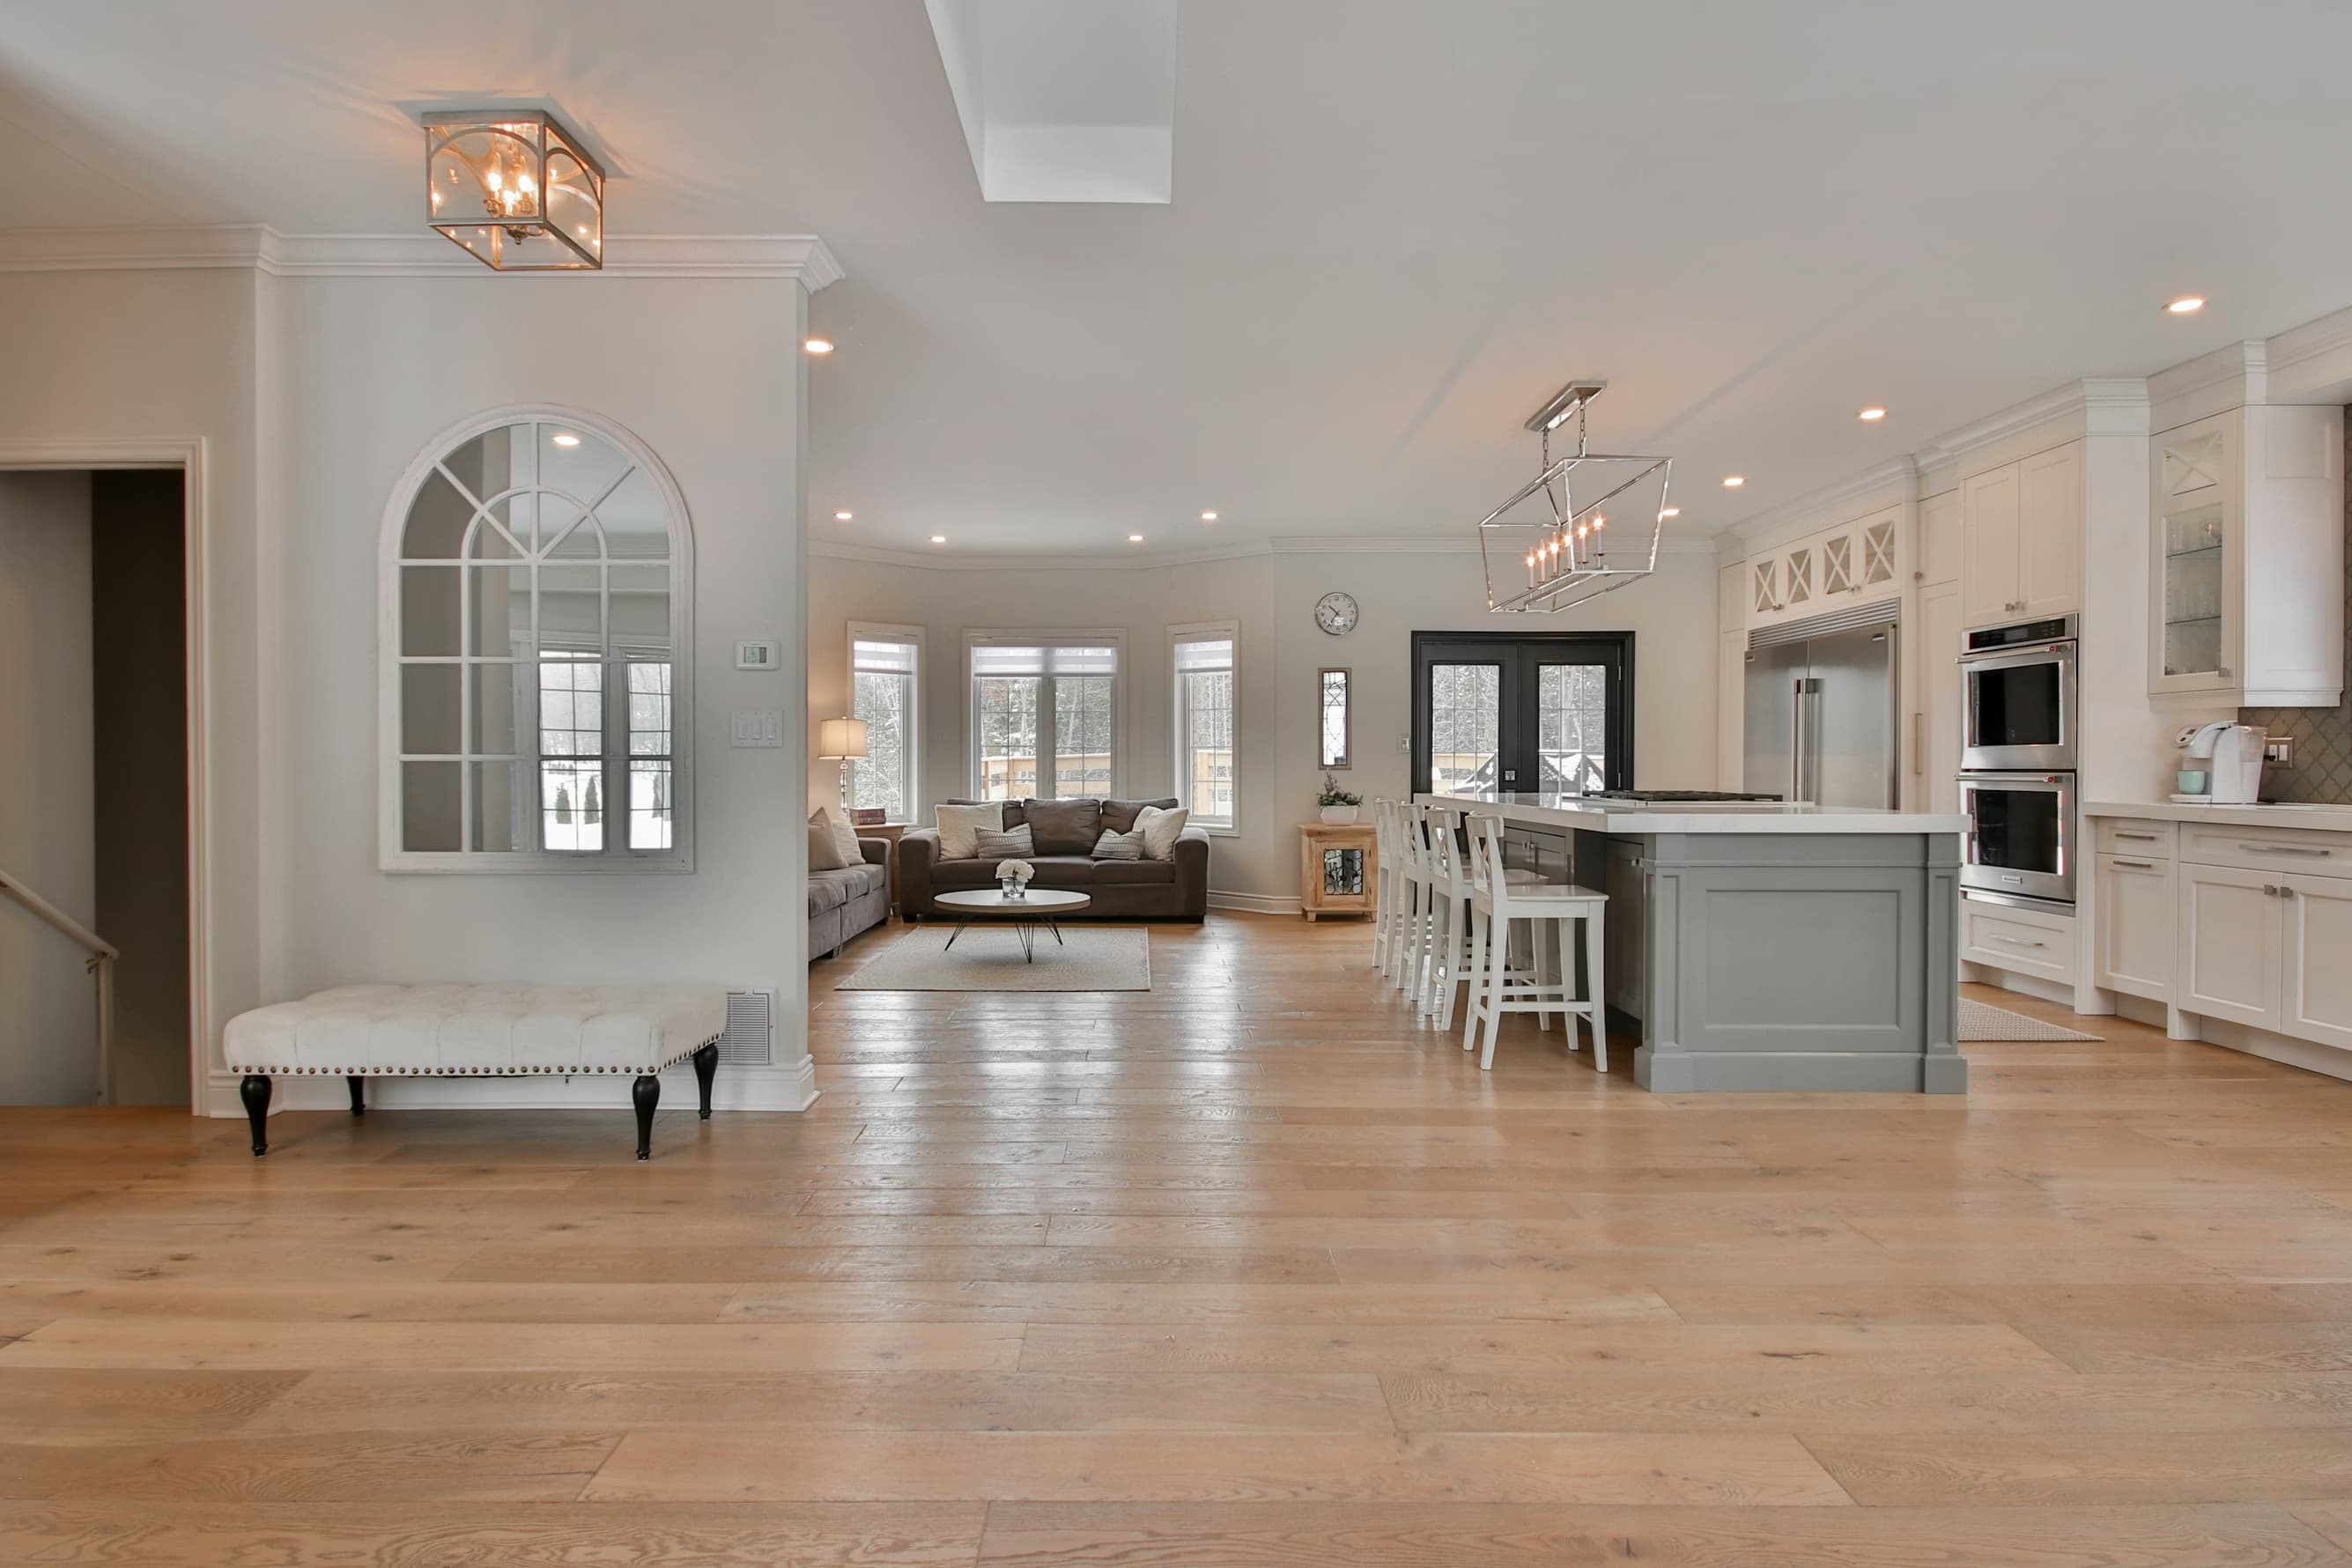
Scenario B: You are installing LVP, Laminate, or Tile
Order: Paint Ceiling & Walls $\rightarrow$ Install Flooring $\rightarrow$ Install Baseboards.
- Why: It is much faster to roll paint when you aren't worried about dripping on a finished floor. You can be messy. Once the paint is dry, lay the floor, then install baseboards to cover the gap between the two.
Phase 3: Cabinetry & Fixtures
If you are doing a kitchen:
- Paint the room first. (It's hard to paint behind cabinets later).
- Install Cabinets.
- Template for Countertops.
- Install Flooring. (Flooring usually goes under appliances but up to cabinets).
- Install Countertops.
- Install Backsplash Tile.
Phase 4: The Finish Line
- Trim & Baseboards: Install, caulk, and paint.
- Electrical Trim: Install outlets, switches, and light fixtures.
- Plumbing Trim: Install faucets and showerheads.
- Touch Up Paint: Fix the inevitable scuffs from moving heavy cabinets and floors.
Plan Your Logistics
A renovation has a lot of moving parts.
- Tip: Use RoomyLab to measure the square footage for both paint and flooring.
- Knowing your exact quantities prevents you from pausing the project for three days because you ran one box short of tile.
Inspired? Start planning now.
Use our free browser-based tool to visualize this advice in your own home. No account needed.
Launch RoomyLab Editor