The Ultimate Walk-In Pantry: Dimensions for Maximum Storage
Don't build a pantry that feels like a cramped closet. Learn the 'elbow room' rule and the ideal shelf depths for cereal boxes vs. canned goods.
More Than Just Shelves
A walk-in pantry is the dream of every home cook, but a poorly planned one is just a place where spices go to die in dark corners.
The difference between a "closet with food" and a "chef's pantry" comes down to clearance and visibility. If you can't see the jar of pasta sauce, you're going to buy another one—leading to clutter and wasted money.
1. The "Elbow Room" Rule
The most common mistake is over-stuffing the walls with deep shelves, leaving no room for the human.
The Rule: You need a minimum of 32 to 36 inches of walking space in the center.
- If your pantry is 5 feet wide (60 inches), and you put 16-inch shelves on both sides, you only have 28 inches to stand in. That's too tight for carrying a grocery bag or turning around.
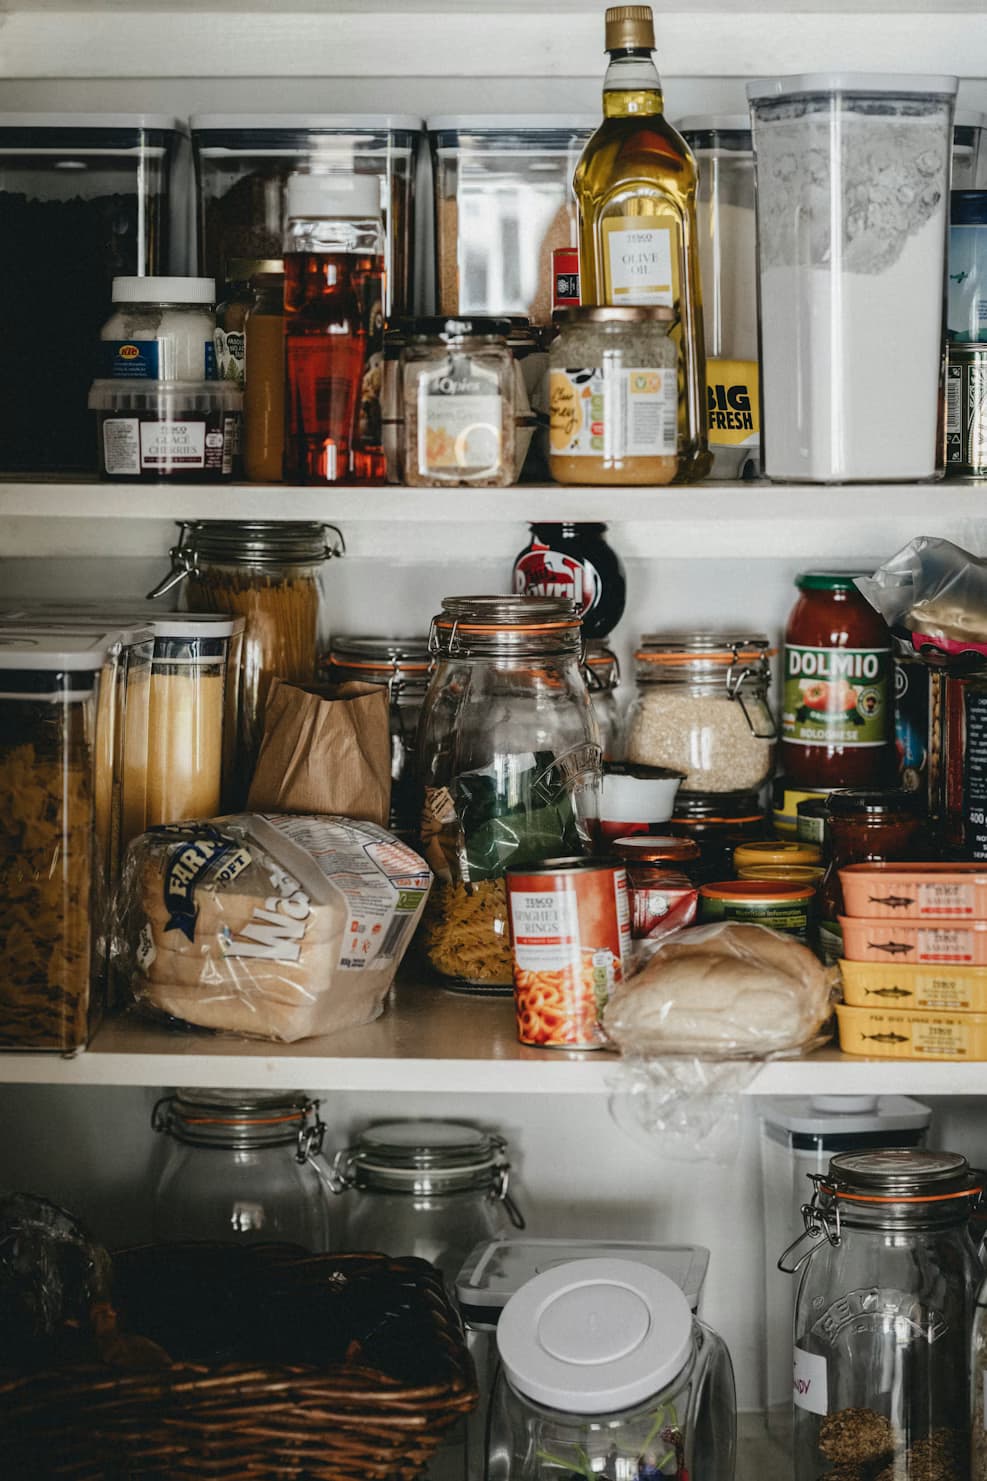
2. Vary Your Shelf Depths
One size does not fit all in a pantry.
- Lower Shelves (The Heavy Zone): 16 to 18 inches deep. These are for bulk items, dog food bags, or small appliances (mixers, air fryers).
- Eye-Level Shelves (The Daily Zone): 12 inches deep. This is the "magic number" for cereal boxes and snack containers.
- Narrow Shelves (The Visibility Zone): 6 to 10 inches deep. Use these for canned goods and spices. If a shelf is 16 inches deep and you put cans on it, you'll lose the ones in the back.
3. Vertical Spacing (The "Reach" Factor)
- Bottom Shelf: Start it 12 to 16 inches off the floor. This allows you to slide a rolling bin or heavy cases of water underneath.
- Standard Gap: Leave 10 to 12 inches between most shelves.
- The "Adjustable" Secret: Use wall-mounted tracks (standards and brackets) rather than fixed wooden cleats. Your needs will change, and being able to move a shelf up two inches to fit a new blender is a lifesaver.
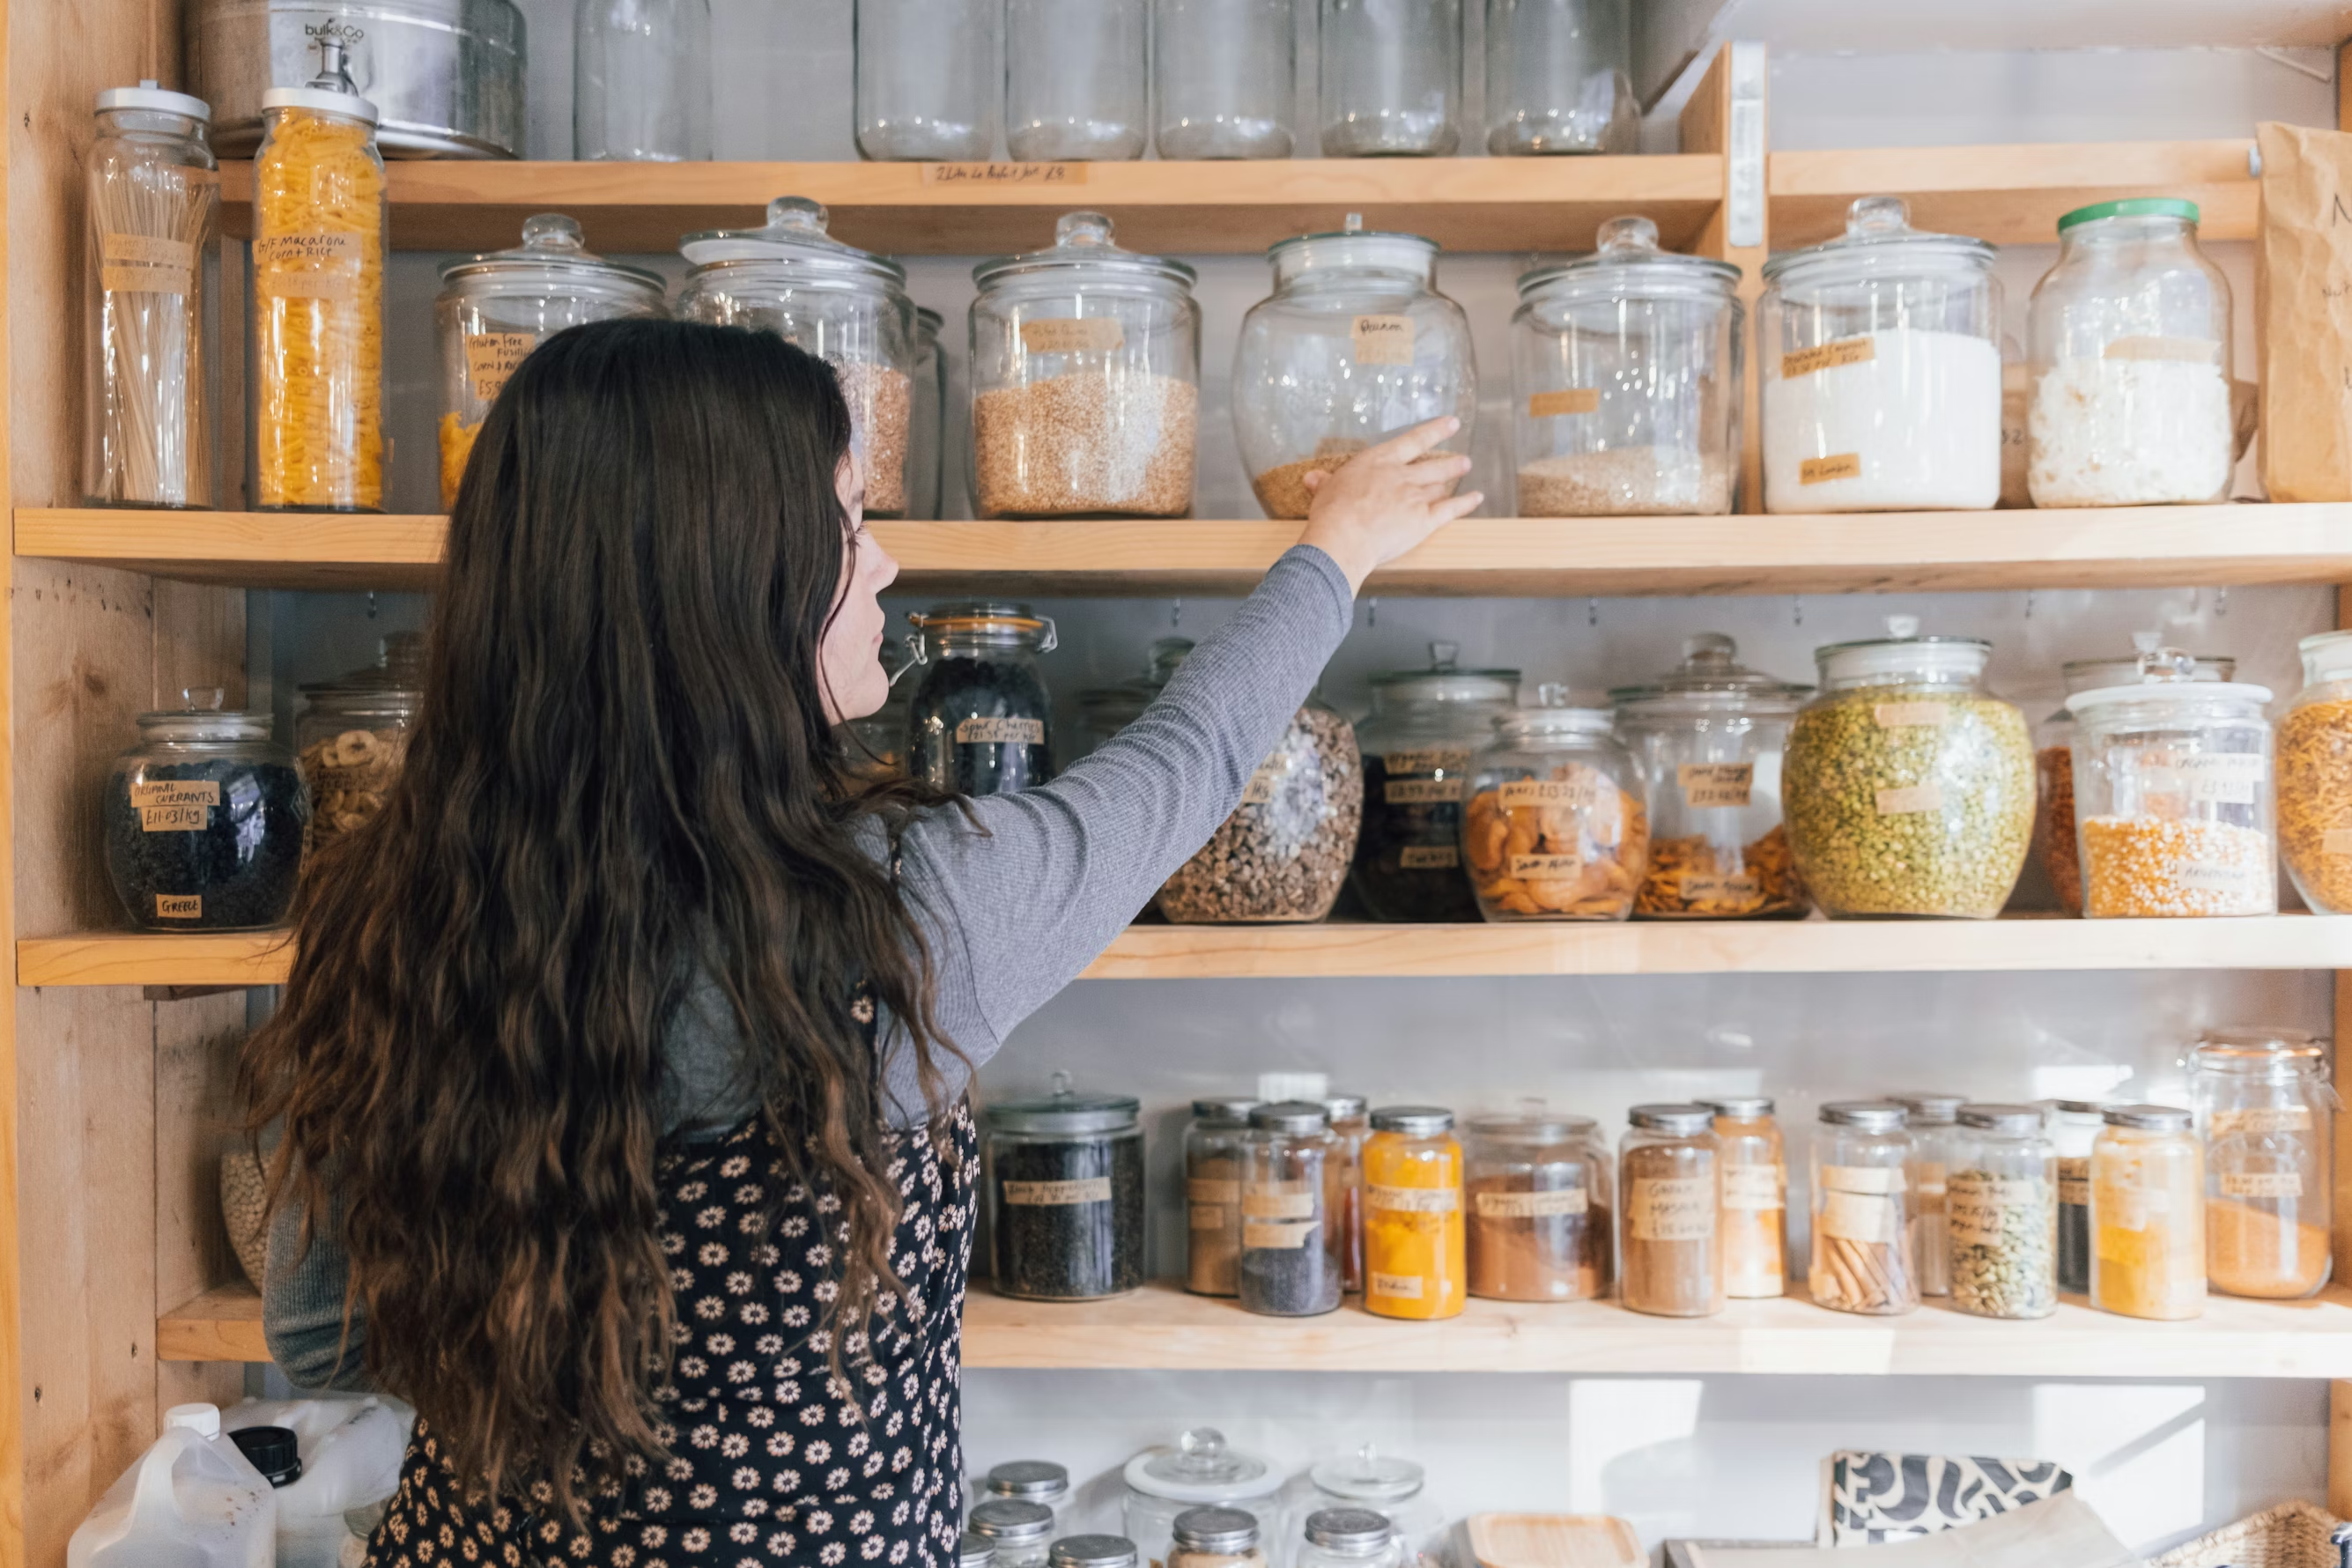
4. Lighting is Non-Negotiable
Pantries are often windowless. If you rely on the light from the kitchen to spill in, the bottom shelves will be in total darkness.
- The Best Setup: LED motion-sensor tape lighting under the shelves.
- The Budget Setup: A bright overhead flush-mount light with a "Cool White" (3500K-4000K) bulb so you can actually read the expiration dates on labels.
5. The Corner Solution
Corners are where pantries go to fail.
- Avoid: Shelves that meet at a 90-degree angle, creating a deep, unreachable square.
- The Fix: Use a Lazy Susan in the corner or wrap the shelves in a "U-shape" with a curved corner if your budget allows.
Plan Your Pantry in RoomyLab
Before you start nailing boards to the wall:
- Draw the footprint: Use the editor to see if your 36-inch walkway actually fits.
- Layer your shelving: Use the "Cabinet" or "Shelf" components to test the layout.
- Walk through it: Imagine carrying a large box of Costco-sized paper towels. Can you get in and out without hitting your hips?
Pro Tip: Measure your tallest appliance (usually a stand mixer or a tall cereal box) before setting your shelf heights!
Inspired? Start planning now.
Use our free browser-based tool to visualize this advice in your own home. No account needed.
Launch RoomyLab Editor